How to Make a Poster with AI: A Step-by-Step Guide
A practical guide to creating posters with AI — from writing a prompt and choosing a style to generating options and preparing files for print or social media.
Key Takeaways
- •
AI poster generators turn text descriptions into finished visuals. No design software or graphic design experience needed.
- •
The quality of your output depends heavily on your prompt. Specific descriptions produce better posters than vague ones.
- •
Most AI poster tools offer multiple style options — pick the style before you generate, not after.
- •
Generated lettering starts inside an image, not as automatically separated text boxes. Use eligible editing tools to change the image, or add your own text and images as separate layers.
- •
Save the design, check its wording and any QR destination, then choose PNG, JPG, or WebP in the editor. Generation, AI identification, and delivered AI changes have different costs.
On This Page
To make a poster with AI, describe what you want, choose a visual direction, and review the generated design before downloading it. Template editing and AI generation are both available workflows; the steps depend on the tool and the feature you choose.
This guide walks through the full process — from writing your first prompt to exporting a file ready for Instagram, a print shop, or a slide deck.
What AI Poster Generation Actually Does
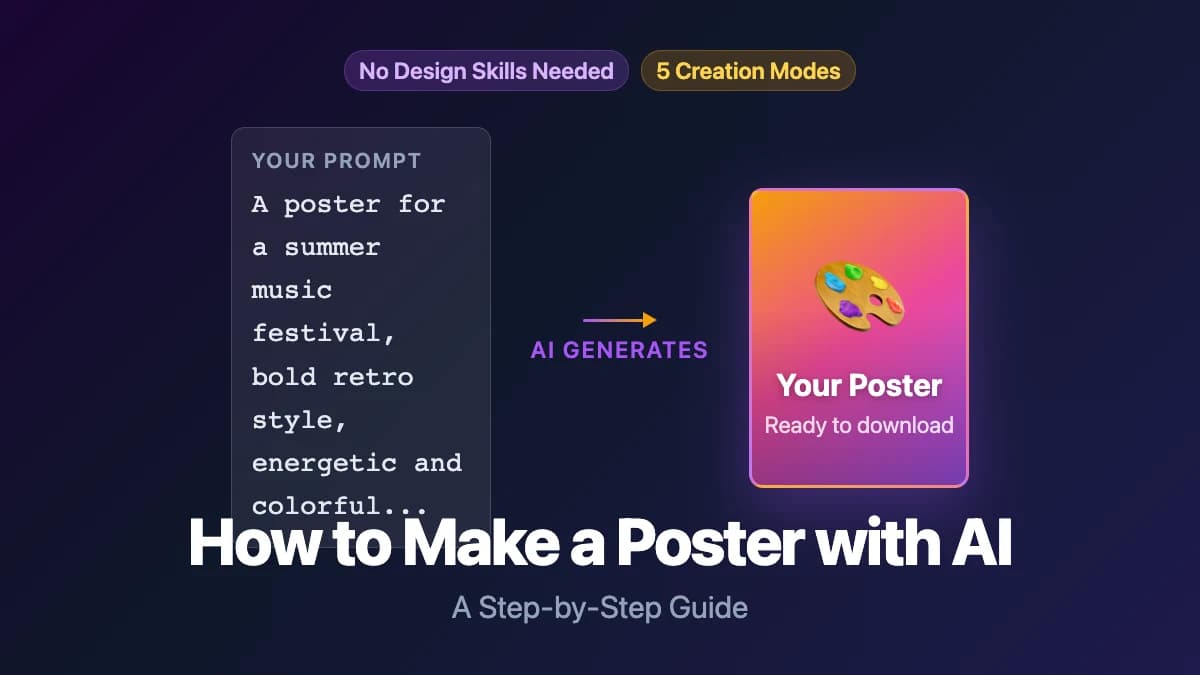
An AI poster generator takes a text prompt — a short description of what you want — and produces a visual image. Under the hood, it uses a trained image generation model to interpret your words and create a composition that matches.
The output is a complete visual: layout, typography, imagery, and color palette, all generated from your description. You don't drag elements around or choose fonts manually. The AI makes those decisions based on the prompt and style you select.
Editing a pre-made template means choosing an existing layout and replacing its elements. Canva and Adobe Express also offer AI generation: Canva Magic Design can generate designs from a prompt or uploaded media, while Adobe Express Generate template creates editable templates from a text description, including posters. Those workflows differ from manually editing a pre-made template. This guide follows Poster's text- or reference-image-based poster generation workflow.
What you can expect
- A finished poster image; the available generation formats depend on the selected tool and model
- Style-specific output (minimalist, retro, cyberpunk, bold typography, etc.)
- A result to review for spelling, layout, and intended use; turnaround varies with the model, queue, and any revisions
What you shouldn't expect
- Pixel-perfect control over every element on day one
- Exact text placement (AI-generated text in images can be inconsistent)
- Print-ready files without any post-processing (you'll usually need to check sizing)
Step 1: Define What the Poster Is For
Before you type a prompt, answer three questions:
Who is this for? A movie night poster for friends needs a different tone than a conference banner for professionals.
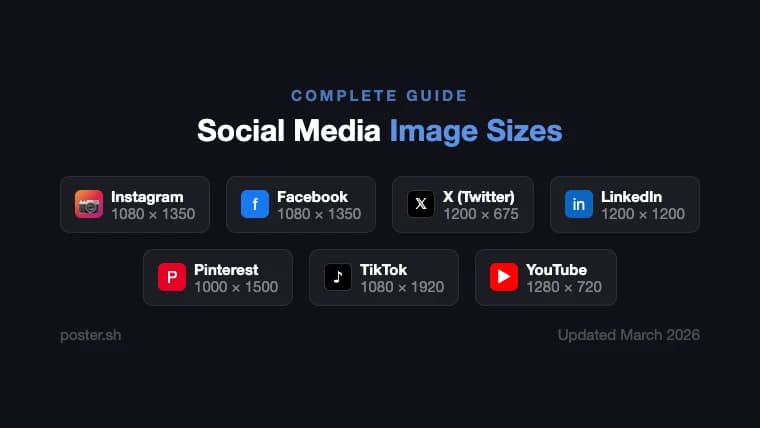
Where will it appear? Instagram (1080×1080 or 1080×1350), a physical wall (A2 or 24×36 inches), a presentation slide (16:9), or an email header — each has different size requirements.
What's the core message? "Summer sale starts June 1" is a clear message. "Our company is great" is not. The tighter your message, the better the AI can focus the visual.
For an event or promotion, write a short brief with the event name, exact date and time, venue or address, price, eligibility or restrictions, and a clear call to action. If people need tickets or reservations, keep the final destination URL ready. Check these facts yourself; the generator cannot verify your event details.
Step 2: Write a Good Prompt
The prompt is the most important part of the process. Here's what works.
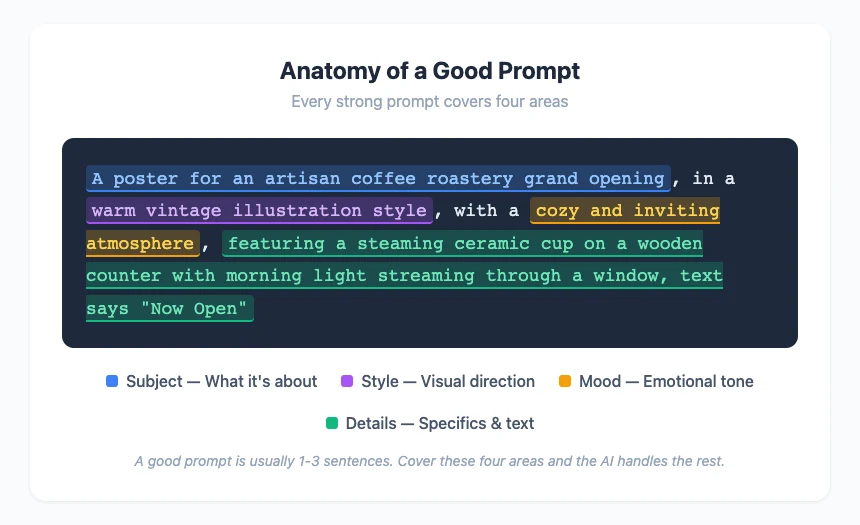
Be specific about the subject
❌ Vague:  "Make a poster for a coffee shop"
✅ Better: "A warm-toned poster for an artisan coffee roastery grand opening,
           featuring a steaming ceramic cup on a wooden counter with
           morning light, text says 'Now Open'"
Include the visual style
If you know what you want, say it. Styles like "minimalist," "retro," "art deco," "bold typography," or "watercolor" give the AI a clear aesthetic direction.
poster.sh offers over a hundred distinct visual styles — browsing them before you write your prompt helps you lock in a direction rather than hoping the AI guesses right.
Mention the mood
Words like "energetic," "calm," "elegant," "playful," or "dramatic" shift the color palette and composition. A poster described as "energetic" will get brighter colors and more dynamic angles than one described as "calm."
Specify what to avoid
Some AI systems support negative prompts. Even when they don't, you can steer the output by being explicit: "no people in the image" or "no text overlay — I'll add text myself."
Step 3: Choose a Style and Generate
With your prompt ready, the generation step is straightforward.
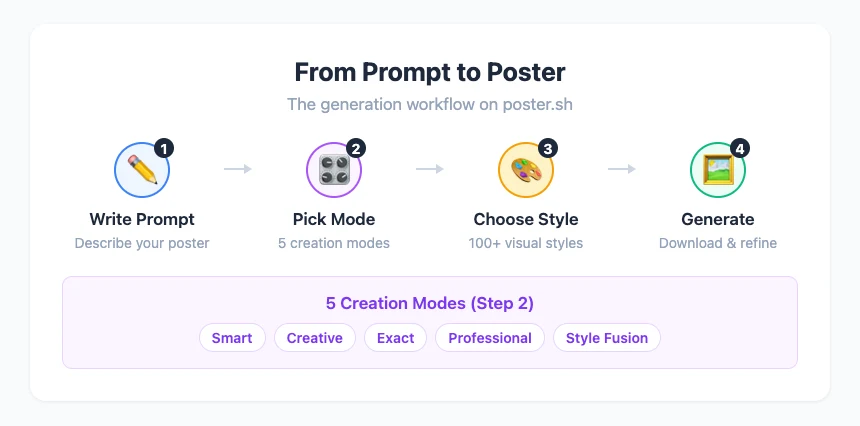
The illustration shows an earlier interface. The current generator uses Direct Mode and Image Mode, as described below.
On poster.sh, the workflow looks like this:
- Enter your prompt in the generator on the homepage
- Select an input mode — choose one of the two current options:
- Direct Mode — describe the poster you want with a text prompt
- Image Mode — upload a reference image and describe the poster you want to create
- Pick a visual style from the style gallery — this is the single biggest lever for controlling the look and feel
- Review the model, output size, and displayed credit quote, then generate. AI Optimization is an optional text-prompt action in Direct Mode, not a third generation mode; review its proposed wording before generating.
If you need another direction, revise the prompt or style and review the new quote before generating again. A new generation can use more credits; there is no fixed number of attempts that guarantees an acceptable result.
Step 4: Evaluate and Iterate
Your first generation probably won't be the final one. That's normal — even professional designers iterate.
What to look for
- Composition — Does the layout guide the eye where you want it? Is there a clear focal point?
- Readability — If there's text in the image, is it legible? AI-generated text can sometimes be garbled — this is a known limitation.
- Color harmony — Do the colors support the mood you wanted? Do they work on the background you plan to use?
- Style consistency — Does the poster feel cohesive, or does it mix elements that don't belong together?
How to iterate
- Adjust the prompt — Add or remove details. If the output is too busy, simplify. If it's too generic, add specifics.
- Choose the right input — Use Direct Mode for a text description, or Image Mode when a reference image helps communicate your idea. Adjust the description or reference for your next attempt.
- Change the style — Sometimes the prompt is fine but the style doesn't match the use case.
Edit a saved poster without starting again
Sign in and choose your own saved, compatible 1K/2K poster that shows an Edit button on the result or in My Creations. Some older works have no editing entry, and 4K posters are download-only. This guide does not promise arbitrary external uploads will appear in My Creations.
The initial generated poster is an image. Its original lettering and objects are not automatically separate text boxes or layers. In the editor you can:
- Add your own text, upload images, adjust their layers and placement, or add a QR code using the free manual tools.
- Select text or an object for an AI change, review the identified region, and confirm the proposed change and quote. Check the delivered wording and surrounding artwork instead of assuming every detail is preserved.
- Save, close, and reopen the same saved design from My Creations. Export the result after checking names, dates, prices, crop, and readability.
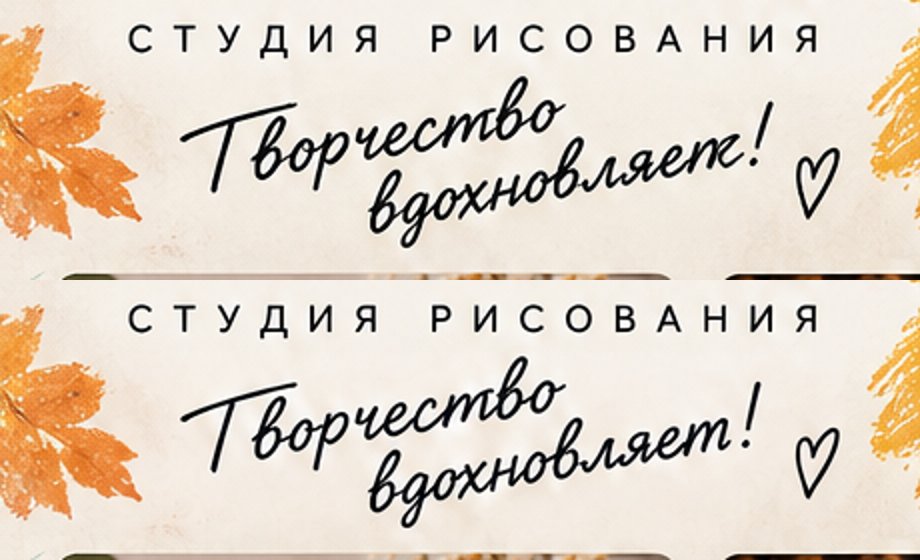
This is an existing recorded editing example, also shown on the poster editor overview, not a newly commissioned test or a guarantee for every design. See the original and edited areas, and verify the corresponding details in your own result.
Understand the total credit cost
Manual text, image, layout, QR, and save operations do not purchase an AI request. Generation depends on the selected model and output tier; identification of a selected area and delivery of an AI change are separate charged steps.
As checked on October 22, 2026, GPT Image 2.5 Ext generation is 2 credits at 1K/2K and 4 at 4K; Nano Banana 2.1 Ext is 3/3/5; Seedream 5.0 Pro is 3 at 1K and 4 at 2K. Midjourney is 3 credits for a 2K call returning four images. These are a dated snapshot of the existing price configuration, not a replacement for the live quote or an editing-eligibility promise.
For an eligible 1K/2K poster, a completed identification is 1 credit and the delivered AI change is 2 credits. For example, a 2-credit generation followed by one completed identification and one delivered change totals 5 credits. Cancelling after identification does not reverse its charge; repeated generation or a new AI request can cost more. Review the price shown for your actual action before confirming.
Step 5: Prepare the File for Use
A generated poster is an image file, but it may not be in the right format or size for your target platform. Here's how to handle common scenarios.
For social media
Social platforms have specific size requirements. Instagram posts work best at 1080×1080 (square) or 1080×1350 (portrait). Stories and Reels need 1080×1920.
Use the resize for Instagram tool to fit your poster to the exact dimensions. The tool handles cropping and scaling without requiring any design software.
For print
Print posters need higher resolution than screen posters. A good rule of thumb: 300 DPI (dots per inch) at the final print size. For a 24×36 inch poster, that means a source image of 7200×10800 pixels.
Check the downloaded file's actual pixel dimensions rather than relying only on a 1K, 2K, or 4K label. Upscaling does not recover missing detail. For large-format work, ask the printer about viewing distance, required pixels, bleed, and color requirements; a raster download is not automatically a print-ready production file.
Standard print poster sizes:
- A3 (11.7 × 16.5 in / 297 × 420 mm) — small posters, desk displays
- A2 (16.5 × 23.4 in / 420 × 594 mm) — standard wall poster
- 18 × 24 in — common US poster size
- 24 × 36 in — large format, retail displays
For presentations and email
Resize to 16:9 for slides or crop to a horizontal banner format for email headers. File size matters here — compress the image to keep the file under typical email limits. poster.sh's image tools include a compressor; compare the compressed result with the original because lossy compression can remove detail.
Format conversion
The editor already exports PNG, JPG, and WebP. You do not need a converter simply to obtain JPG from an edited design.
- PNG: lossless raster output; useful when preserving sharp edges or supported transparency matters.
- JPG: lossy compression, suitable when compatibility and file size matter; it does not preserve transparency.
- WebP: the current editor uses lossy encoding, not a promised lossless WebP mode. Inspect small text and edges after export.
Changing formats keeps the design's pixel dimensions; it does not restore detail, separate lettering into editable text, or produce a PDF. If you already have another file to convert, the image converter and WebP to JPG converter remain useful.
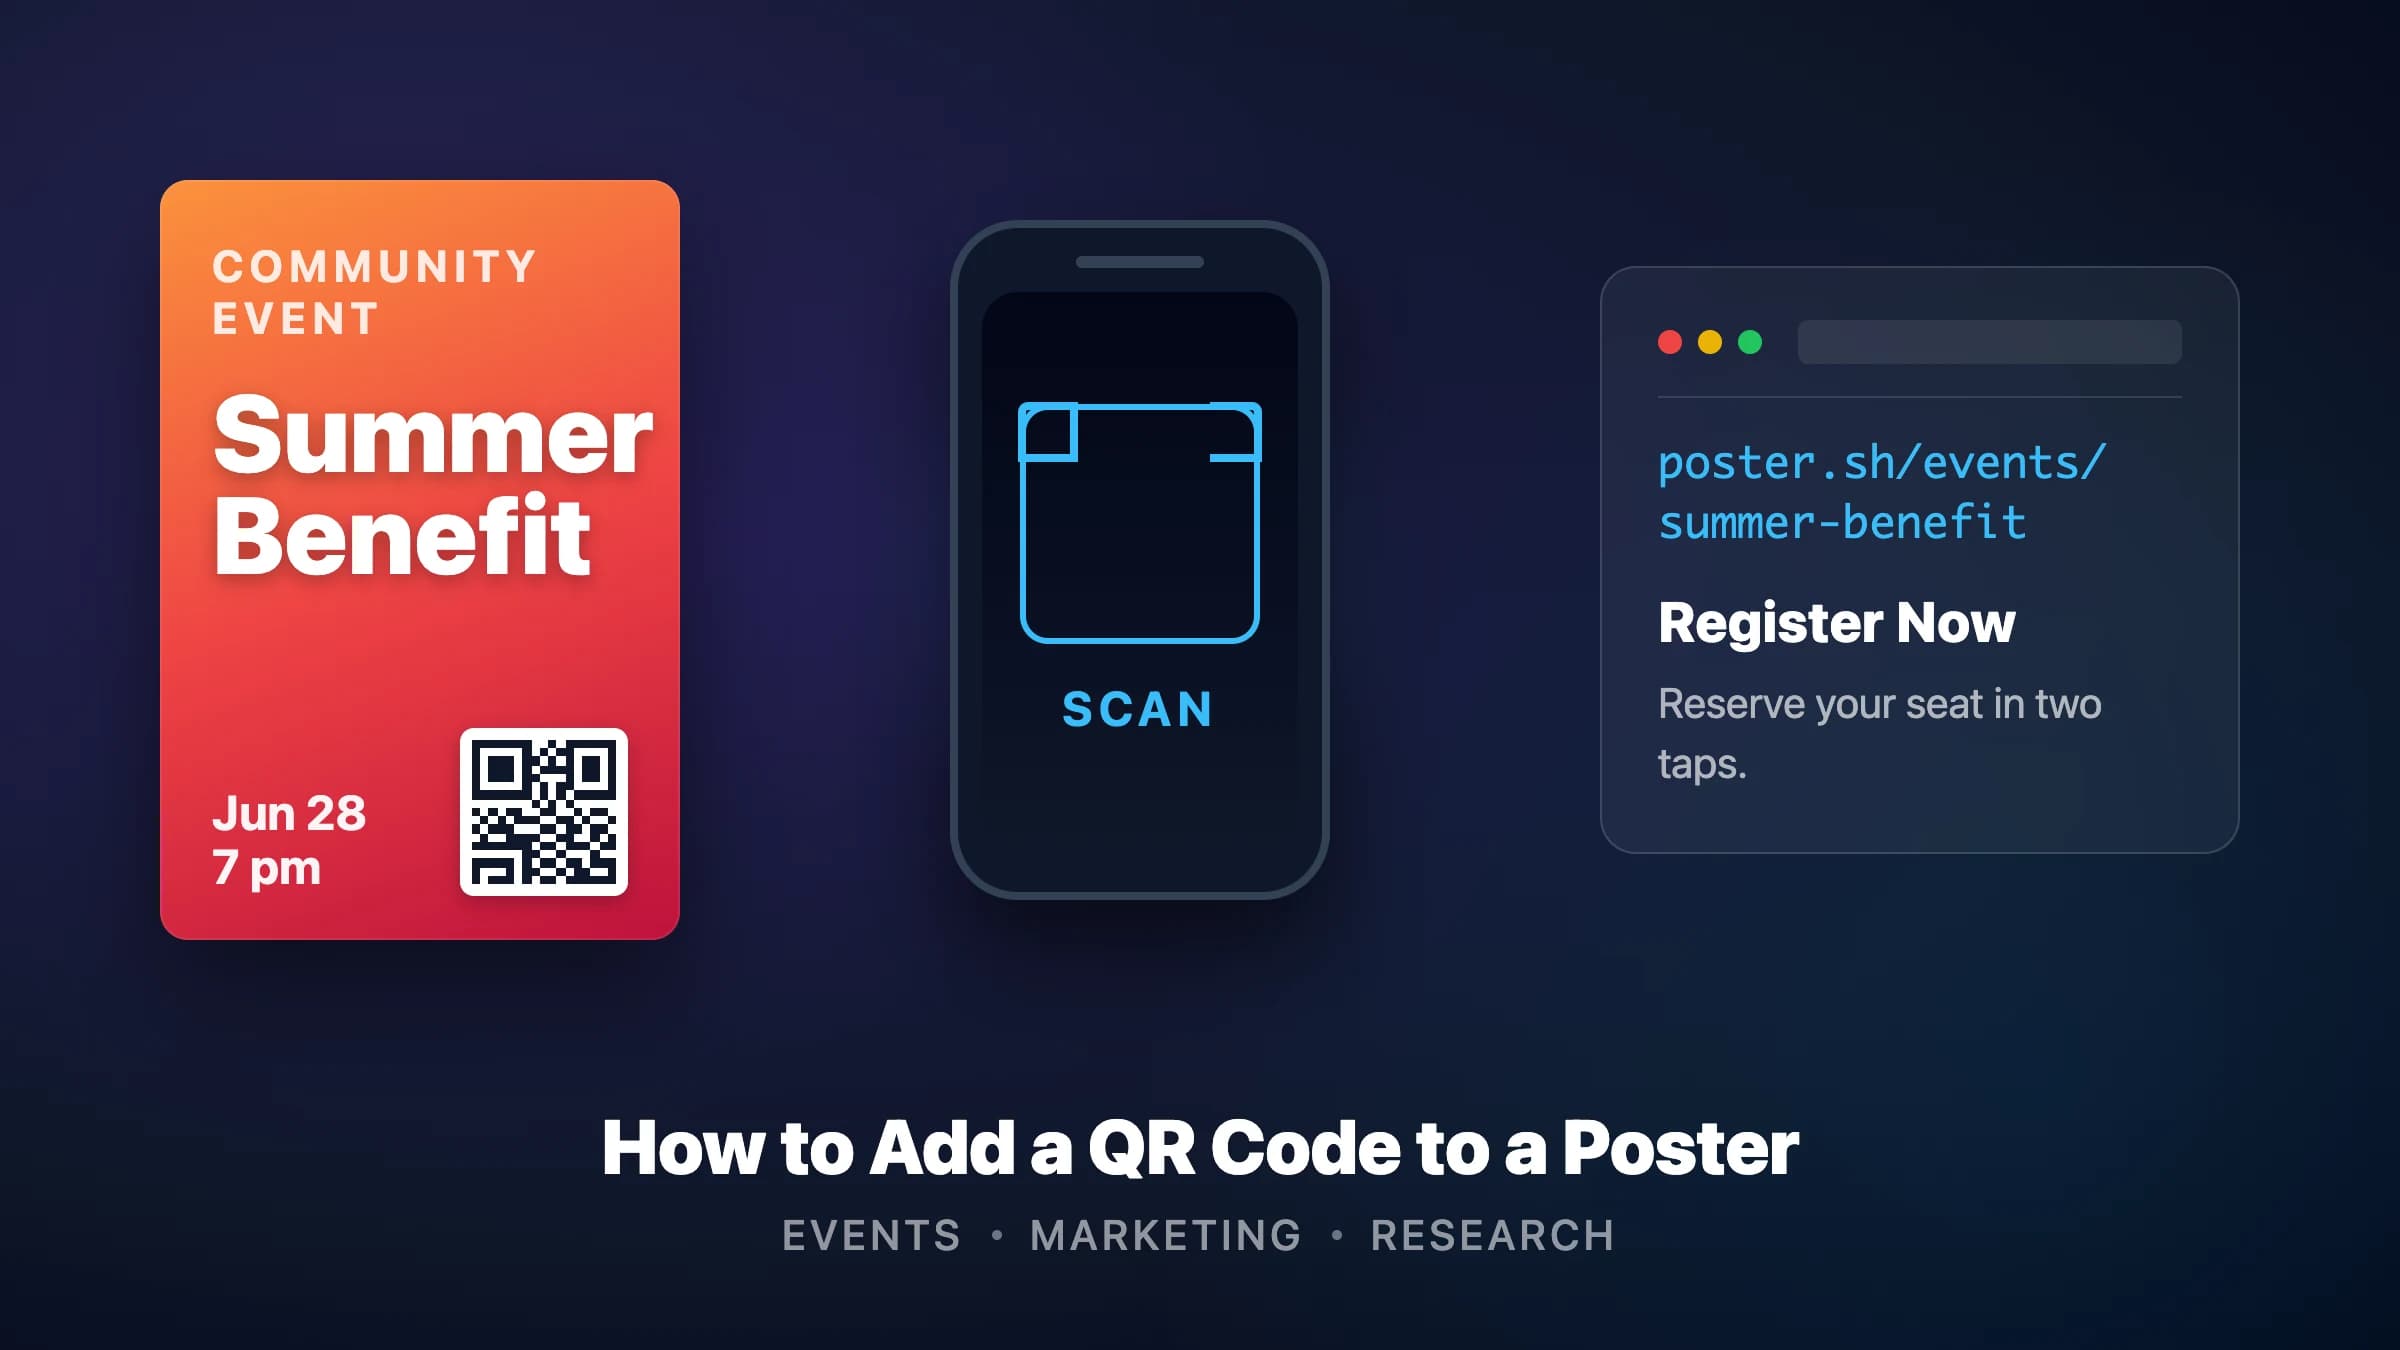
For a ticket, booking, or promotional QR code, enter the intended public URL, place the code with enough contrast and clear space, then scan the actual exported file and confirm that it opens the correct destination. A visible QR pattern alone is not proof that the destination or final print is usable.
Tips for Better Results
Start with a strong reference
Before you write a prompt, look at posters you admire. What makes them work? Is it the typography, the color palette, the composition, the use of negative space? Translate those observations into your prompt.
Use category context
Different poster categories have different visual conventions. A movie poster typically uses dramatic lighting and a centered subject. A concert poster often uses bold typography and limited colors. An event poster for a corporate conference needs clean lines and restrained colors.
poster.sh organizes posters by category — business, creative, education, entertainment, events, social media — and each category carries different style expectations. Knowing your category helps you choose the right style and prompt direction.
Don't over-prompt
Longer prompts aren't always better. If you specify every detail ("blue background with exactly three stars in the upper-left corner at 45-degree angles"), you're fighting the model's strengths. Give it the concept and mood, then let the AI handle composition.
A good prompt is usually 1-3 sentences. Save the detailed specifications for tools you control directly (resize, crop, compress).
Keep the original file
Always save the full-resolution output before you resize, compress, or convert. You may need a different version later — a cropped Instagram version today, a full-size print version next week.
Bottom Line
Use AI for a first composition when you can review and refine the result yourself. If you need exact brand typography, sensitive or regulated wording, or a production file with specific printer requirements, use a workflow with the necessary manual controls or work with a designer who can check that deliverable. Poster is a self-service tool; this guide does not offer a staffed design service or promise that a generated image meets every brand or print requirement.
Frequently Asked Questions
- Do I need design experience to use an AI poster maker?
No. The AI handles layout, color, and composition. You provide the concept and style direction through your prompt. Design experience helps you write better prompts and evaluate output more critically, but it's not required to get a usable result.
- How long does it take to make a poster with AI?
There is no verified fixed completion time or number of rounds. Turnaround depends on the selected model, queue, brief, checks, and revisions. Allow time to confirm wording, save the design, and inspect the exported file; the examples in this guide do not establish a universal 5–15 minute promise.
- Can I use AI-generated posters commercially?
This depends on the specific tool's terms of service. Many AI generators (including poster.sh) allow commercial use of generated images. Check the terms before using output in paid campaigns, merchandise, or client deliverables.
- What if the AI-generated text on the poster is wrong?
AI-generated text in images is a known weak point across all current models. Letters can be misspelled, duplicated, or garbled. For critical text such as dates, names, or prices, eligible Poster designs can use a targeted AI change or free added text layers. The original lettering is still part of an image, so check the delivered result; simply adding new text does not automatically remove the old words or repair a complex background.
- What's the best image size for an AI poster?
It depends on where the poster will be used. For social media, 1080×1080 or 1080×1350 pixels. For web use, anything above 1200px wide is sufficient. For print, aim for 300 DPI at the final size — which usually means several thousand pixels per side.
Make Your First AI Poster
Describe what you need, pick a style, and generate a poster in seconds. No design skills required.
Open the Poster Generator